Saturday, July 20, 2013

Lemon Poke Pound Cake

I have always had a sweet tooth for as long as I can remember.  My mom always said I got it from my dad, but I think it runs in the family.  I remember going to my Grandma Coy's (my dad's mom) when I was younger and she always had sweets.

I found this recipe ( http://www.pauladeen.com/recipes/recipe_view/sour_cream_pound_cake/  )one day when we didn't have anything sweet in the house.  It was something that looked simple & I had all the ingredients on hand.  I did make a few changes to the original recipe to make it my own and give it some flavor.

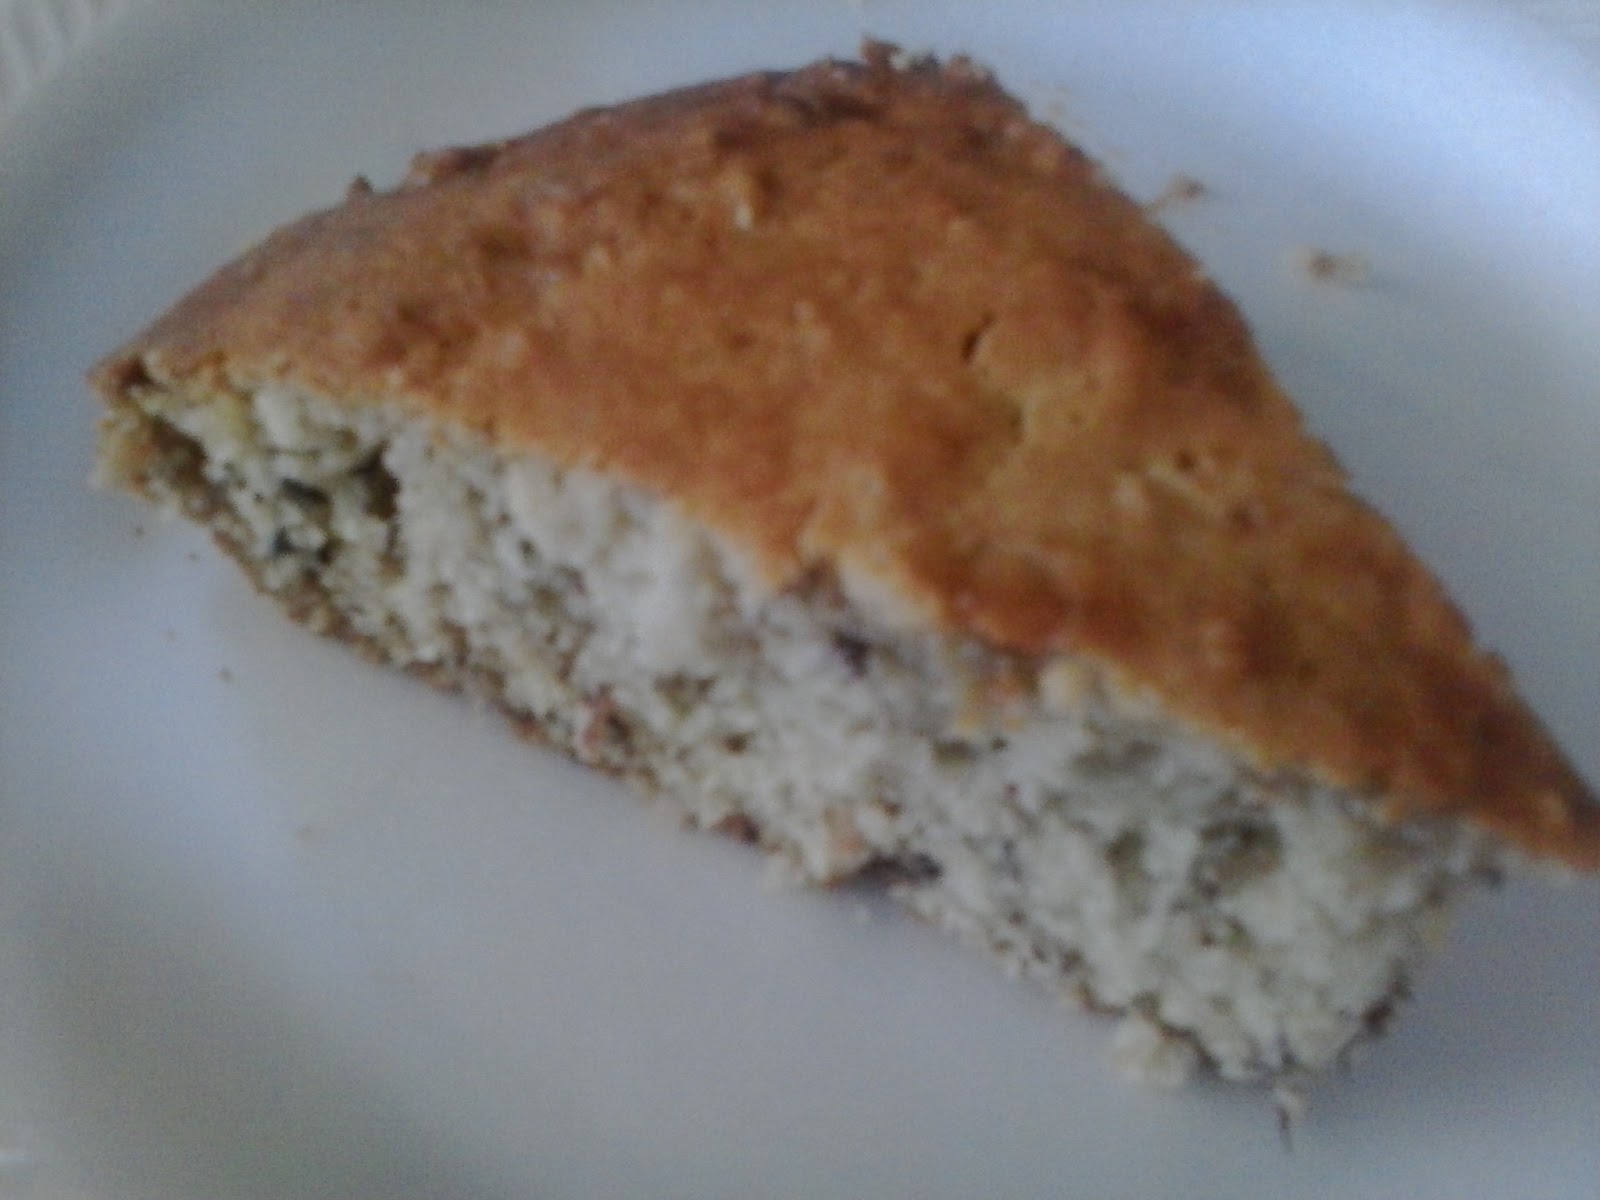
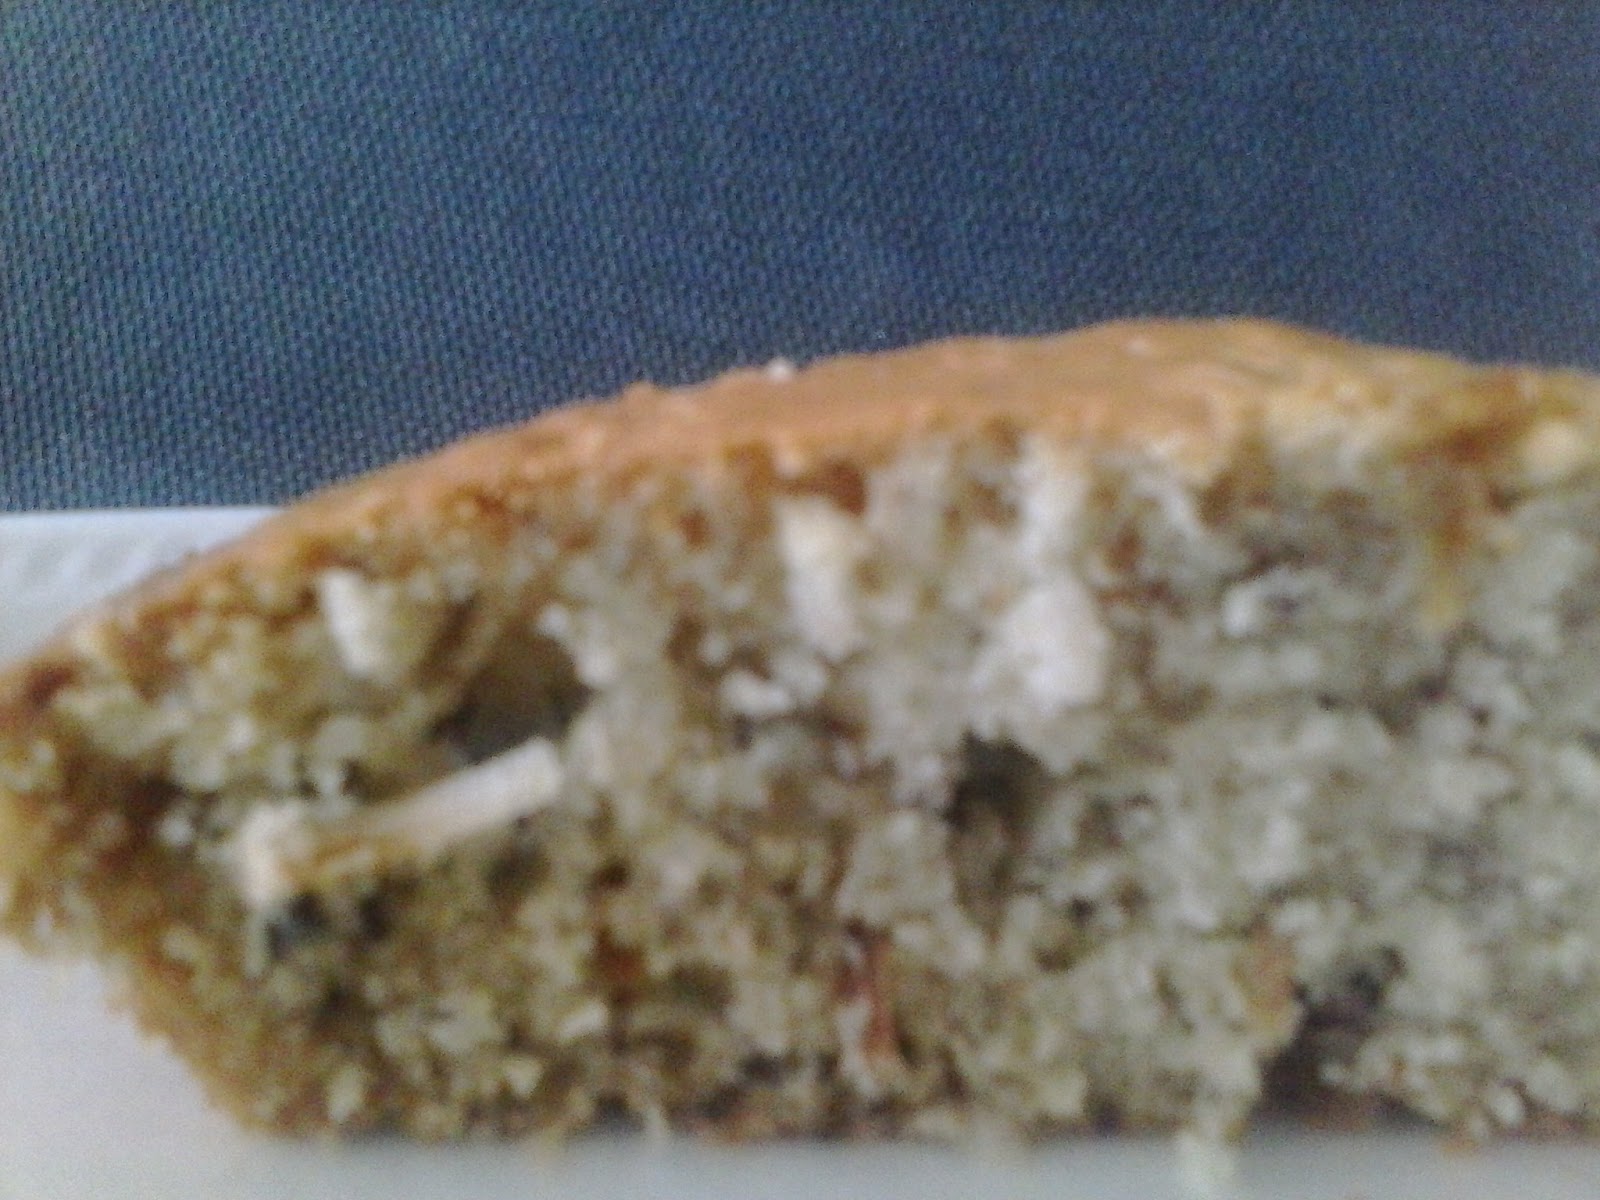
This cake is airy, light, fluffy and simply delicious!  I know it sounds weird to use sour cream in a cake, but don't be scared.  Sour cream is flavourless and is what makes this cake so moist.  By not over mixing the batter (which most people do), it makes it light & airy.  Cakes usually become dense because the batter is over mixed and all of the air is removed.

Enjoy! <3

Lemon Poke Pound Cake

1 Tbsp Lemon Extract
3 large eggs
1/4 teaspoon baking soda
1/2 cup sour cream
1 1/2 cup sugar 1 cup butter, room temperature
1 1/2 cup all-purpose flour

Icing

1 Cup Confectioners Sugar
1 Tbsp Butter
1 Tbsp Milk
1 Tsp Lemon Extract

Directions

Preheat oven to 350 degrees F.

1. In a large mixing bowl, cream the butter and sugar together.

2. Add the sour cream and mix until incorporated.

3. Add eggs, beating in 1 egg at a time making sure it is incorporated.

4. Add lemon extract.

5. Sift the baking soda and flour together.

6. Slowly incorporate the flour mixture into the wet batter (I usually do it in 1/3) (DO NOT OVER MIX, just mix until ingredients are blended)

7. Pour the mixture into a greased and sugared cake pan.

8. Bake for 40 minutes to 1 hour or until toothpick inserted into the center of the cake comes out clean.

9. To make icing, combine powdered sugar, butter, milk, & lemon extract, mix until combined.

10. When cake is out of oven poke holes in it (I used my thermometer) and pour icing over while cake is hot!

Honey, Lime, & Sriracha Marinaded Chicken Breasts

I love trying new recipes.  When I saw this recipe ( http://www.onceuponachef.com/2013/07/honey-lime-sriracha-chicken-skewers.html ) , I knew we had to try it.  Honey, lime & Sriracha?  What an interesting combination.  It seemed like an easy recipe, and we had chicken in the fridge, so I got to work on it.

Marinades are great, it gives you great flavor and they are usually easy to make.  They allow you to throw it together before work and is ready to go when you get home.  The longer you marinade something the more flavor you will get.  Depending on your ingredients, it can also help to tenderize meats.  I did make a few adjustments to the original recipe to make it my own & to accommodate what I had on hand.

Sriracha is a great ingredient which is often overlooked.   It has a great level of heat, that is hot, but not overpowering when used correctly.  The honey helps to tame the spice and adds sweetness to the marinade.  When adding lime to any dish, it freshens it, while adding that acidic kick to help cut through the heat & sweetness.  The marinade will seem spicy once blended, but it will not be that spicy once you cook the chicken.

This was a winner in my house & we will definitely be making again.  I hope you enjoy as much as we did!

Honey, Lime & Sriracha Marinade 

3 Tbsp Soy Sauce
1/2 Cup Honey
1 Tbsp Vegetable or Canola Oil
1 Lime (zested & juiced)
3 Garlic Cloves (roughly chopped)
1 1/2 in piece Fresh Ginger (peeled & roughly chopped)
2 Tbsp Sriracha sauce
1 1/4 Tsp Salt
1/2 Cup Brown Sugar
5 Chicken Breasts or 8-10 Chicken Thighs

Blend all ingredients together (except chicken).  Reserve 1/2 of marinade to use at the end to brush on.

I put mine together the night before so all the flavors could blend.  Marinate up to 12 hrs for chicken breasts or thighs, if you cube the meat for kabobs, marinate up to 6 hrs.

Preheat grill to medium (I used my indoor grill).  Pat chicken dry when removing from marinade (otherwise it will burn because of the sugar).  During the last 10 mins of cooking, brush on reserved marinade while turning occasionally so that it doesn't burn.

Sunday, April 7, 2013

Breakfast Burrito

I love breakfasts that are quick & easy yet filling at the same time.  Today I wanted to make something that was filling since I plan on taking my son to an event in downtown at Lake Eola called the Spring Fiesta.  My son is a growing 11 yr old boy who LOVES to eat.  I figured this way he won't ask all day for something if we go full. 

Burritos are always great to make since you can alter them to fit what you like and roll it up in a tortilla.  I usually use whatever I have on hand, kind of like a fridge clean out.  The ones we made today were a hit with my guys so I figured I would share the recipe so you can enjoy them also.

Ingredients:

5 burrito size tortillas
5 eggs
1 box or bag of hash browns (I used Hungry Jacks cheese hash browns)
1/4 cup medium diced onions
1/4 cup medium diced peppers
2 cups medium diced ham (crumbled bacon or sausage can be used also)
1 tsp garlic powder
1 tsp seasoned salt
1 tsp pepper
1 tbsp milk
2 tbsp oil
1 tbsp butter
Salsa
Sour cream

Directions:

Preheat oven to 300 degrees

Wrap tortillas in foil and put in oven to warm while everything cooks

In a large skillet over medium heat lightly brown ham, remove and set aside

In same large skillet on medium high heat oil, add potatoes & cook according to package

While potatoes are cooking, heat medium pan, add butter, onions and peppers, cook 3-4 mins until onions are translucent

In bowl wisk together eggs, milk, garlic, season salt & pepper, add to onions and peppers, scramble

Remove tortillas from oven, in the middle add some eggs, ham & hash browns, wrap by folding in sides and rolling

You can serve with salsa & sour cream

Enjoy! <3

Saturday, March 23, 2013

Toasted Coconut Banana Bread

I love the weekends!  Weekends are always fun & usually full of adventures.  Weekdays not so much... I work all week so I don't get as much time as I would like to cook.  Like most people we love bananas, but always seem to have a few start to go bad within a few days of buying.  I'm not sure about you, but I love to watch them brown!

As the days past and they get more brown, I get a little more excited as the weekend approaches.  I knew I was going to make banana bread, but wanted something different at the same time.  Looking online & pinterest I saw some really good variations. 

I decided to go with a recipe from Fat Girl Trapped in a Skinny Body's recipe for Coconut Banana Bread ( http://fatgirltrappedinaskinnybody.blogspot.com/2011/10/coconut-banana-bread.html?m=1 ) with a few twists of my own.  Instead of light coconut milk, I used regular coconut milk.  I also toasted the coconut prior to mixing in and added chopped pecans.  Toasting the flakes helps to bring out the nuttiness of the coconut and adds to the flavor.  You could even toast the pecans to add more flavor.  This recipe was very delicious & produced a moist bread which was an instant hit & definitely a keeper!

Ingredients

1/2 cup Vegetable Oil
1 cup Sugar
2 Eggs
1 tsp Vanilla extract
1 tsp almond extract
2 1/2 cups All purpose flour
1 1/2 tsp Baking powder
1 tsp Baking soda
1/2 tsp Salt
1 cup Ripe bananas (about 3 medium bananas)
1 cup Coconut milk
1/2 cup Toasted coconut
1/2 cup Pecan pieces

Makes 12 muffins & 1- 9" cake

Directions

Preheat oven to 350 degrees.

Butter muffin pans or bread loaves, set aside

Put coconut on a baking sheet and toast in oven for a few mins, take out & mix (if you want it toasted more just repeat step until it is toasted enough for your taste. I repeated this step 3 times)

In a small bowl mash bananas

In a large bowl, combine oil, sugar, eggs, vanilla & almond extract, then add coconut milk. Once combined stir in bananas.

In a medium bowl, combine flour, baking soda, baking powder, and salt.  Stir to combine.

Slowly add flour to wet batter and fold in (DO NOT OVER MIX, it causes your bread to be dense.. if you slowly fold to combine, your bread will be more moist)

Add toasted coconut & pecans (you could toast the pecans also, follow same steps as the coconut) and slowly fold in to incorporate.

Use 1/4 cup measure and add to muffin pan (I made 12 muffins) , pour the rest in the cake pan.

Bake 1 hr to 1 hr 15 min, test by inserting toothpick, if it comes out clean then it is done.

Enjoy! <3

Saturday, March 16, 2013

Homemade Turtles

So after a dinner of some baked ziti, we wanted something sweet.  After the long day I've had, I wanted something quick and this definitely hit the spot in more ways then one.

This was so quick & easy its ridiculous.  It only took a few minutes to do and was easy enough for my son to help make (as he stole a few Rolos in the process).  I had seen this recipe a few times on Pinterest and glad I finally took the time to make.  I hope you enjoy as much as we did!

I used mini pretzels with salt, however you can use pretzels without salt also.  Salt actually brings out the chocolate taste and compliments it.  You can use the regular mini pretzels or square pretzels.  I would also recommend having everything set up ready to go since you have to do pretty quick.

Ingredients

20 mini pretzels
20 Rolos, unwrapped
20 pecan halves

Directions

Preheat oven to 250 degrees.

On a cookie sheet places pretzels down.

Place 1 Rolo on top, once done, carefully place pan in oven.  Cook approximately 2-3 mins.

Remove from oven, quickly place 1 pecan halve on top, press down slightly.  Once done, place cookie sheet in freezer (to help the chocolate harden quicker) for at least 15 minutes.

Enjoy! <3

Tuesday, March 12, 2013

B.T.S. Pasta Salad

I recently saw a recipe online for a BLT pasta salad and after seeing how easy it was to make, decided to try it.  Since there were so many different versions, I combined ideas and came up with a great salad.

Most versions were basically the same, pasta, mayo, tomatoes, bacon, & spinach or lettuce.  When I made it though it was kind of bland, that's when the fun began.  I added some sweet thai chili sauce, honey mustard, and lots of salt & pepper. 

I made this in a rush since my son & boyfriend are always starving when I get home. I was shocked when my picky eaters actually approved (except for the tomatoes, of course).  Believe me this is a great accomplishment on my part.  How to get 2 people that both hate veggies of any kind to eat them? Overall it was a hit and we will definitely make again with a few changes. 

That's the great thing about cooking, if you make something, and like it but don't, you can always adjust and next time it could be a hit!  What we felt the salad was missing was a "crunch" factor.  I think a great addition would be some apples for a sweet & tangy salad, or carrot, or onions.  This salad is so versatile that the possibilities are endless.

Ingredients

4 slices of Maple Bacon
1/2 lb of Farfalle Pasta (bow tie)
3 Tbsp Mayonnaise
1 Tbsp Sweet Thai Chili Sauce
1 Tbsp Honey Mustard
1/2 bag Baby Spinach
1 pint Cherry Tomatoes
Salt & Pepper to taste

Bring a pot of water to a rolling boil, add salt & pasta, cook until al dente.  Once cooked, drain & rinse with cold water.

While pasta is cooking, cut bacon into bite size pieces and crisp over medium heat, remove and drain on a paper towel to cool.

In a large bowl mix, mayonnaise, sweet thai chili sauce, honey mustard, cherry tomatoes cut in half and 1/2 of the bacon, stir to combine.

Once pasta is done combine with sauce and refrigerate at least a few hours, even overnight.  You can always add more sauce if needed.

When ready to serve, add spinach & bacon.  Combine well.

Enjoy <3

Thursday, March 7, 2013

M.I.A.

It's been a while since I've been on here, but that is about to change! Life these last few months has been a roller coaster to say the least.  We have finally moved into a new place & I finally have a kitchen again! 

To many people, myself included, you never realize how you take things for granted, until you no longer have them.  Living in a hotel for the last 2 years has been hard.  It makes you humble, but also teaches you to appreciate what you have that much more.

I have always loved to cook, and not being able to correctly was definitely a  challenge.  Being the survivor I am though, I always made it work.  Most of the time I made something out of nothing. 

During this time I became a huge fan and pinner on Pinterest.  This is a website for anyone to get information on a range of things or interests.  I have found a ton of new delicious recipes and I can't wait to make and share them with you!  Hopefully my blog & recipes will inspire you the way others have inspired me!

So welcome, as I begin a new journey in life & in the world of food.  I will even have kid recipes which I will make with my son , so yes even kids will have fun cooking with you.  So sit back, have fun, & enjoy life through food!